
You can upload pretty much any file to your blog, but not all display the same way. These tips will help you effectively upload different files.
To upload an image to a post follow the instructions below:


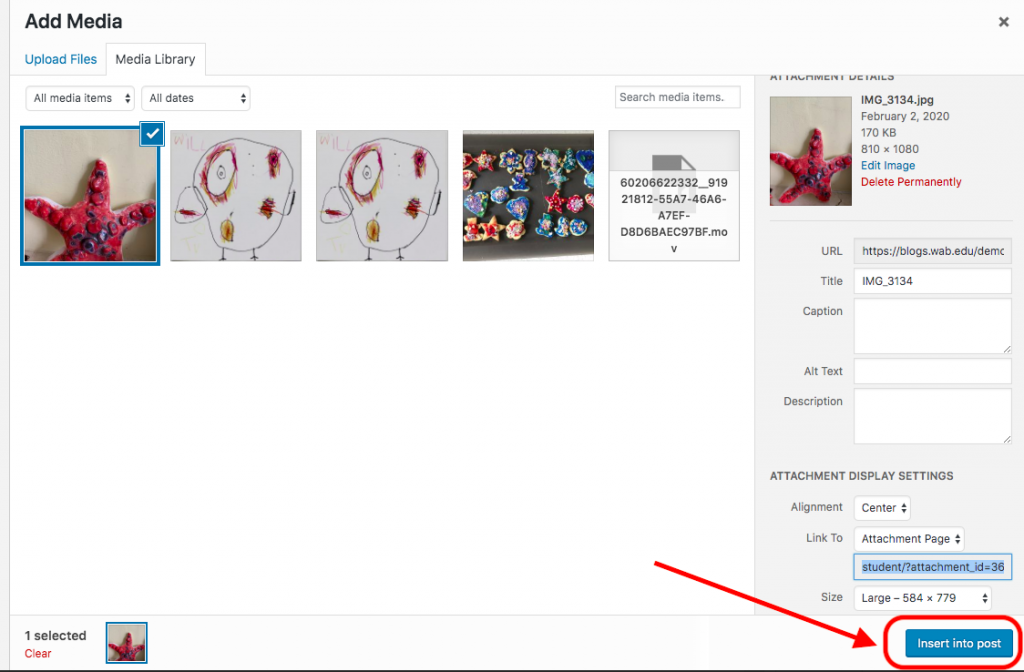
Sometimes you might want to link to an image in your image library as opposed to actually embedding the image in your post.
This will show you how to upload a gallery onto a WordPress site (blog) using the “Add Media” button.
You can also follow the steps as below:
Step 1: Add a new post.
 Step 2: Add media.
 Step 3: ‘Create Gallery’ by ‘Select Files’.
 Step 4: Tap on the files and click ‘Choose’.
 Step 5: When uploading finished, click ‘Insert into post’.
 Step 6: Make the Gallery Settings base on your demand.
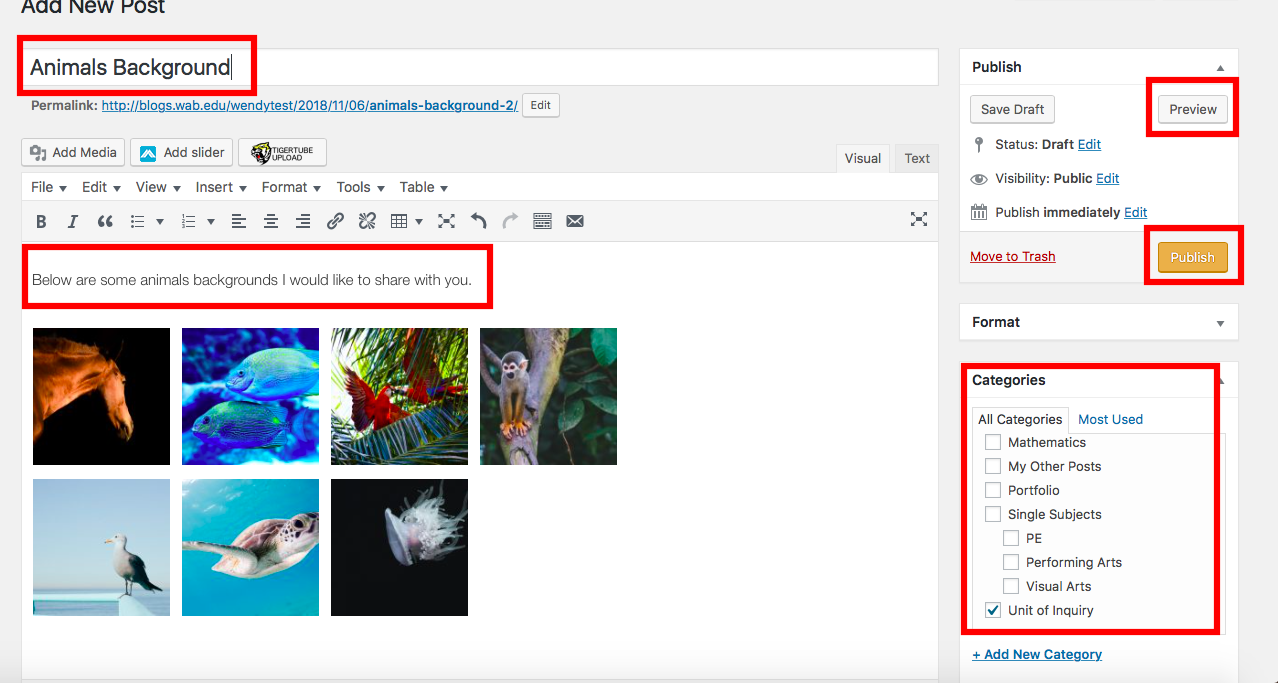
 Step 7: Enter the title of your post, add some introduction about your post if you need, choose the categories, always ‘Preview’ your post before you publish it. ‘Publish’ at last.
 This entry was posted in School Systems and tagged blogs, wordpress by Phillip Cowell. Bookmark the permalink.
1. Open your document.
2. Use the zoom on the bottom left so that your document fills as much of the screen as possible. If your document is too large to fit on the screen, you should probably save it as a PDF instead and upload to your blog that way.
3. Hold down Command, Shift and then press 4-you should see the pointer change into a target.
4. Click and drag the target around what you want to take the screen shot of.
5. You will here a click like a camera when you finish the click and drag.
6. Open your blog.
7. Click on “Add New Post” from the top menu.
8. Give your post a title.
9. Click the ‘Add Media’ icon as shown in diagram 1.

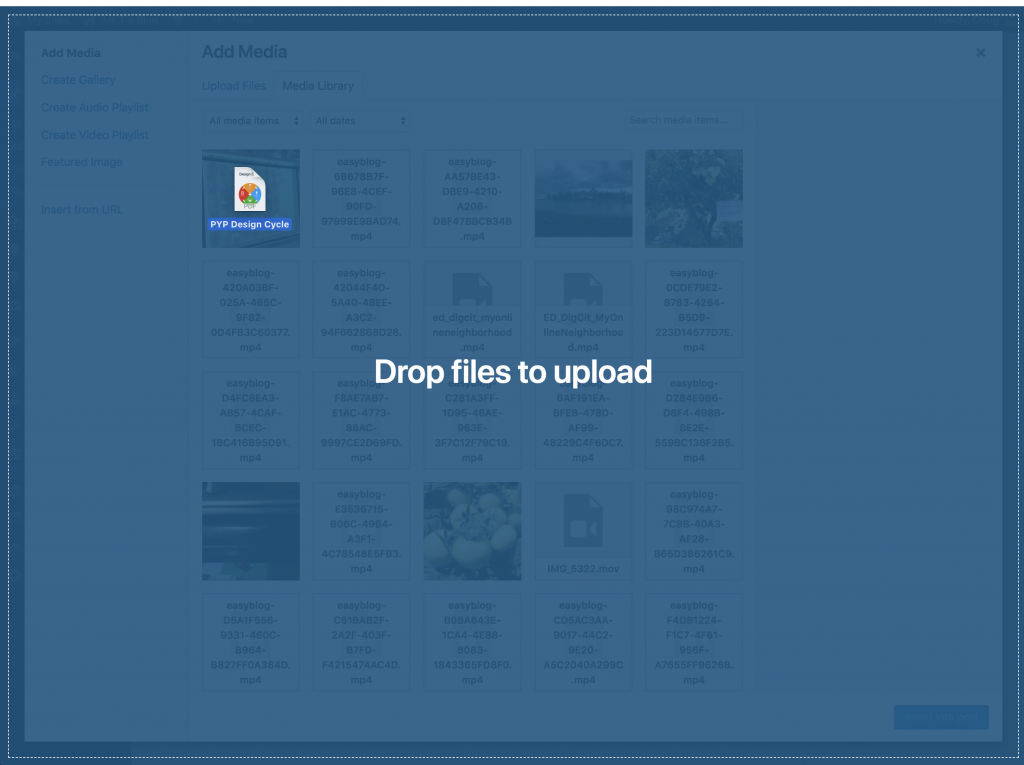
10. Drag your image on.
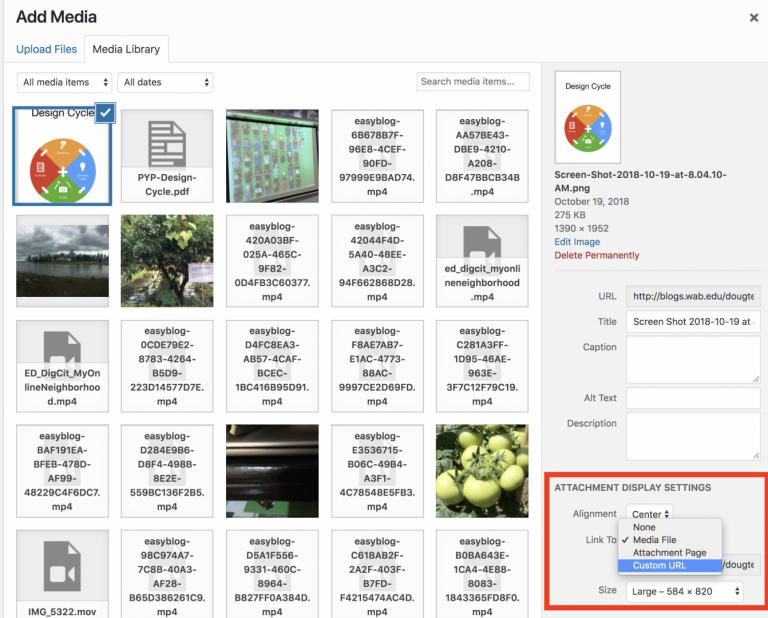
11. Choose the image size and placement . If you want to add a caption, write it in the “caption” box. (See diagram 2)
12. Click “insert into post”
13. Choose a category and publish.

Embedding a video directly into your blog or any other site that supports it is definitely the best way to go. An example of an embedded video is the one you see below here. The actual video is being hosted on our school’s media server, Tiger Tube even though you are watching it on iHelp.
Uploading and embedding to Tigertube
To upload a video to Tigertube watch the video below:
Short version - Embedding a Tigertube video
Know how to upload? Watch the video below to learn how to embed a TigerTube video on your blog.
If you insert a PDF file using ‘Add Media;, it only displays as a link. Here’s how to make it display with the first page as an image.


If you’d like to add a voice recording to your blog you can do it using Quicktime player on a Mac (see below) If you are using an iPhone, click here.
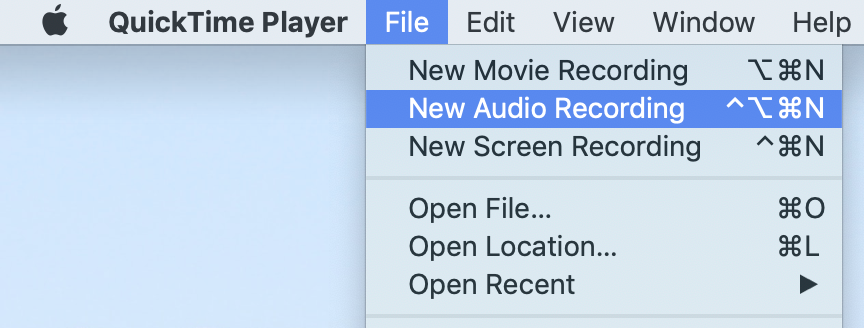 2.Click the red button to start recording, tap it again to stop. (Make sure to select the right microphone and do a check recording first)3
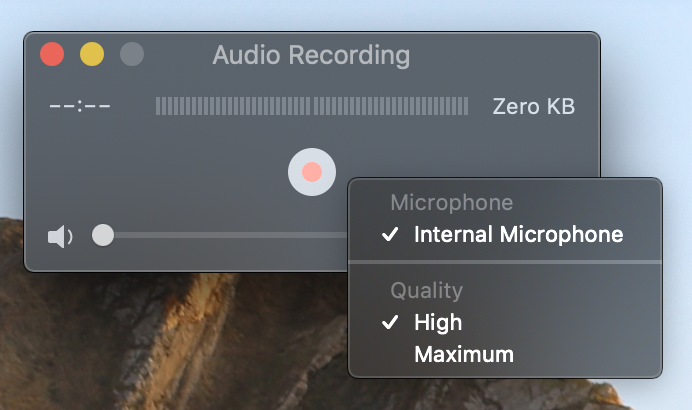


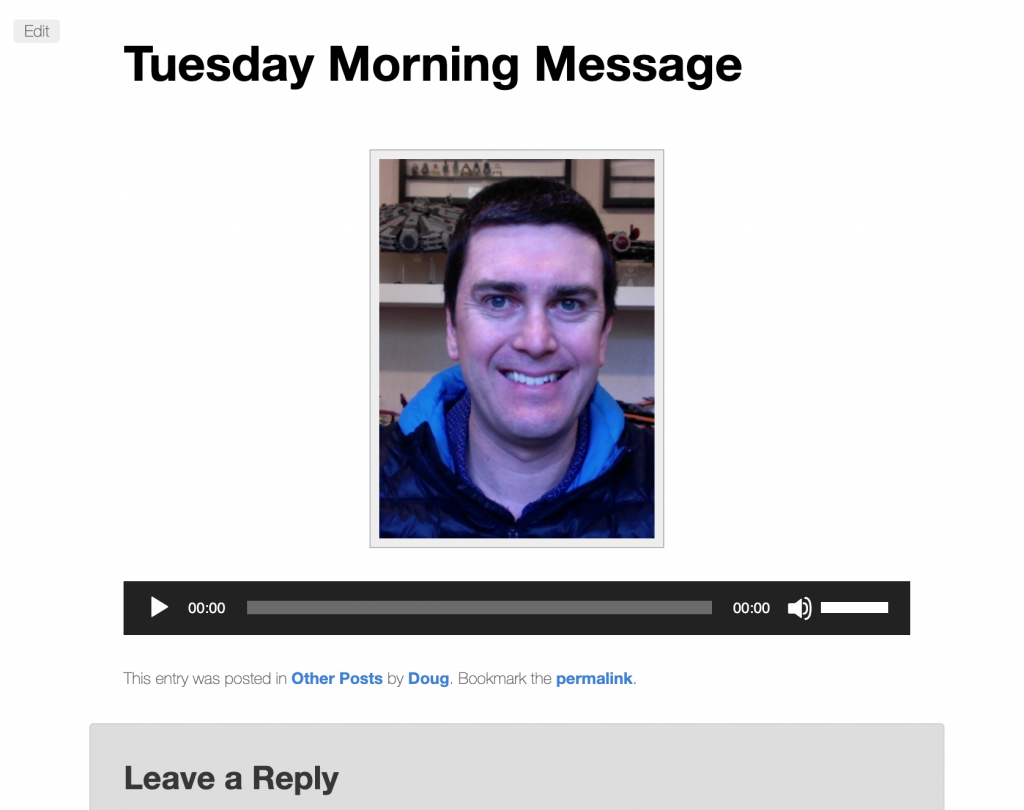
 5.Drag your file onto a blog post
6. Add an image and publish when ready 7.Your voice will now be able to be played when someone views your post and taps play
1. Control click (right click) the .wmv file and go Open With>Quicktime Player. (Quicktime will then convert the file)
2. Once the file is converted and opened, from the top menu go Export>Audio Only>Save
3. A dialogue screen will pop up as in the diagram. Choose Use .m4a (and check where it is exporting to)
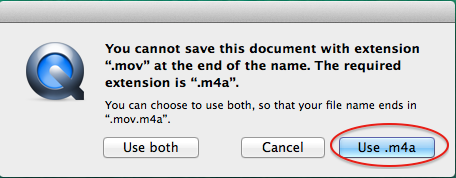
4. The new file will be called <file name> (Converted) Upload this one to the blog.